Comm100 gives you the flexibility to add live chat onto your WordPress site. You can add live chat by either:
Install the Comm100 Live Chat WordPress plugin
The Comm100 Free Live Chat plugin enables you to easily add a chat button to each page of your WordPress site with a few clicks.
To install the plugin, please follow these steps:
- Log in to your WordPress account.
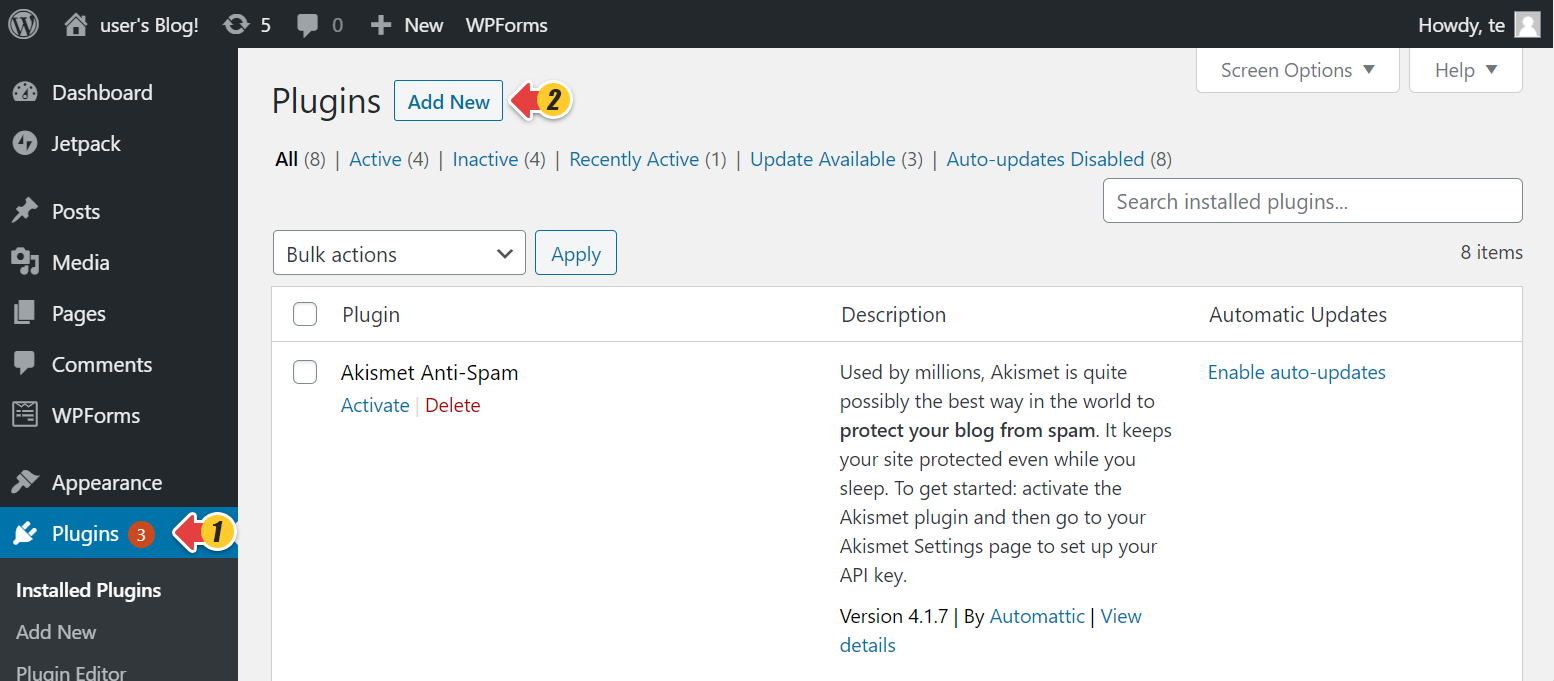
- Go to the Plugins menu and click Add New.
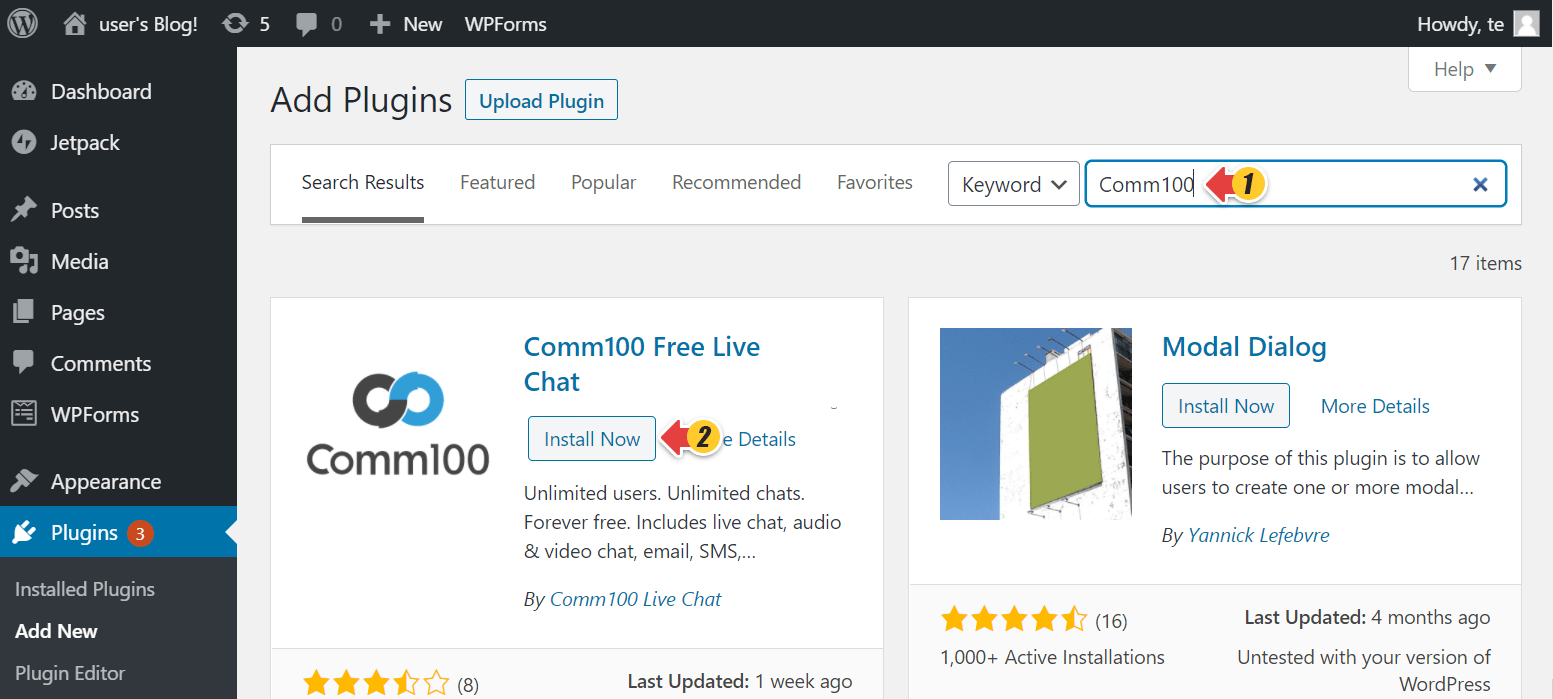
- Type Comm100 in the search bar to find the Comm100 Free Live Chat plugin.
- Click Install Now to install the plugin.
After the successful installation, the Install Now button changes to Activate. - Click Activate to activate the plugin.
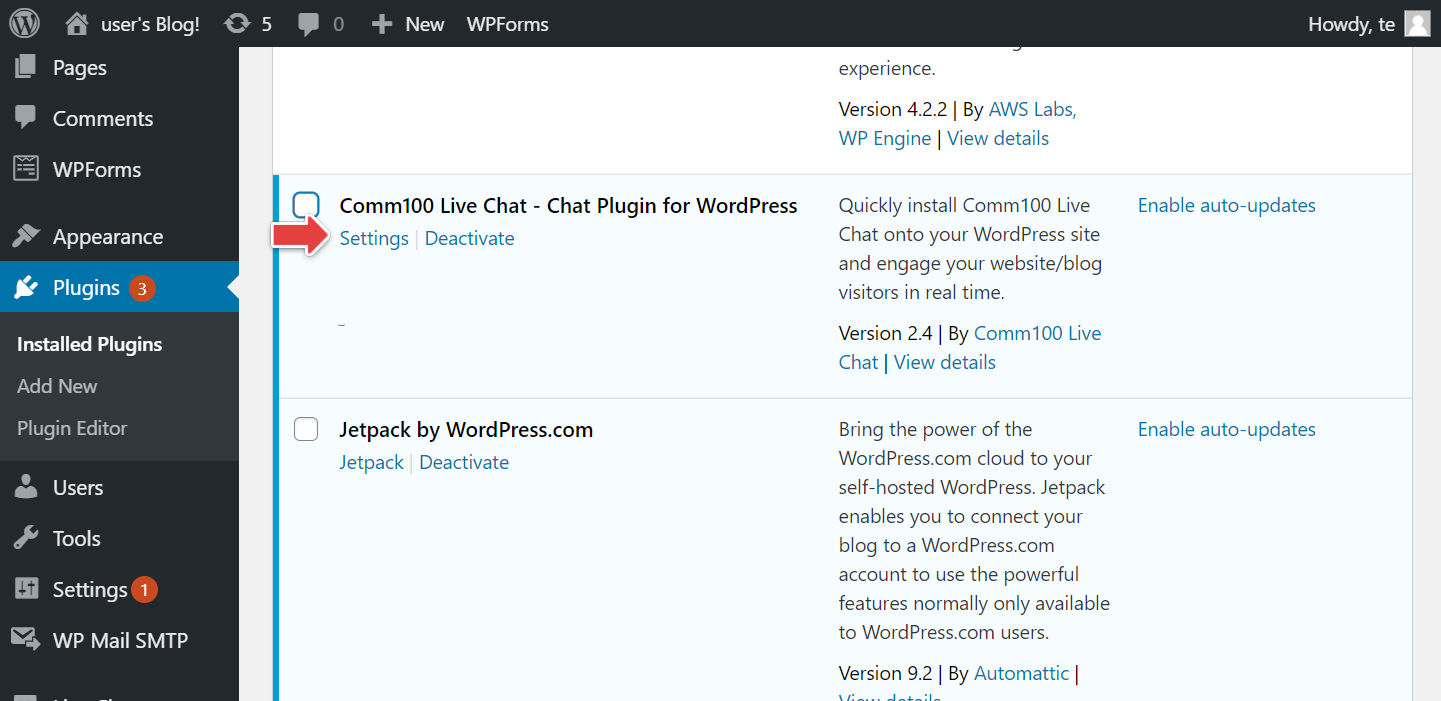
- Go to Plugins > Installed Plugins and search for the Comm100 Live Chat – Chat Plugin for WordPress plugin.
- Click Settings.
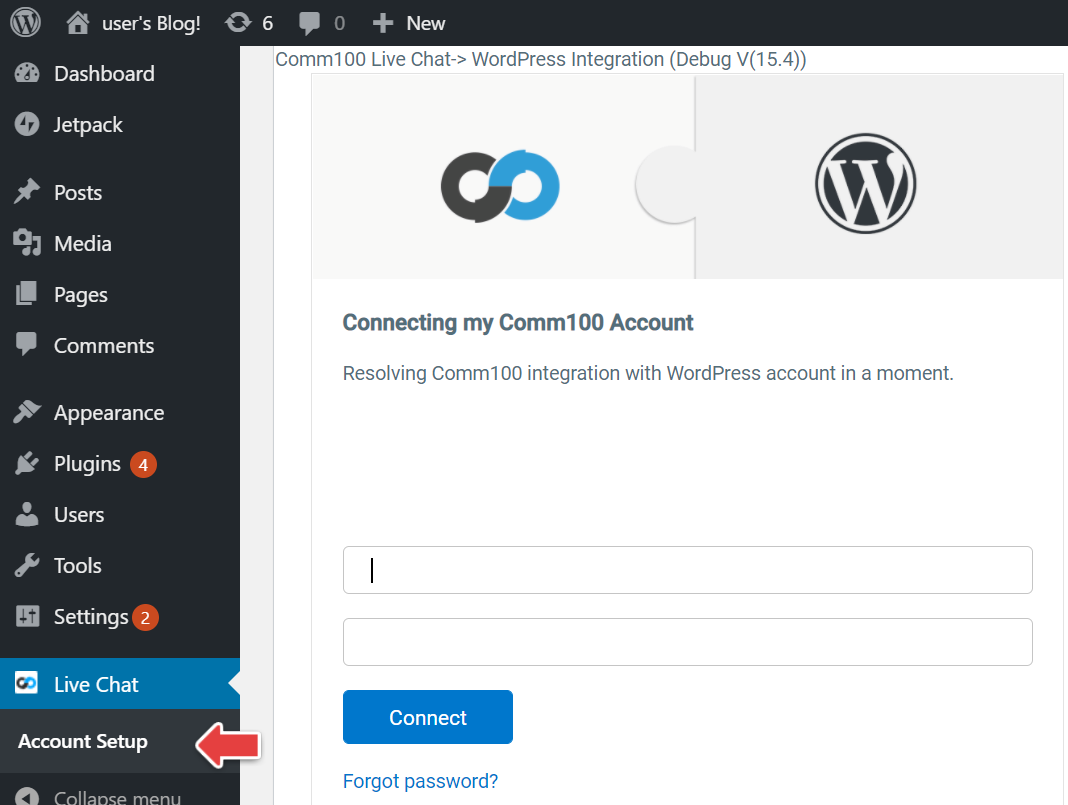
WordPress navigates you to the Live Chat > Account Setup page.
Note: You can also directly navigate to Live Chat > Account Setup page from the navigation menu.
- If you are an existing customer. Comm100 asks you to provide an email and password to connect your Comm100 account to WordPress, and activate Live Chat on your WordPress site.
Note: Comm100 verifies for an existing Comm100 account using your user profile email address.- On the Connecting my Comm100 Account screen, type your username and password, and click Connect.
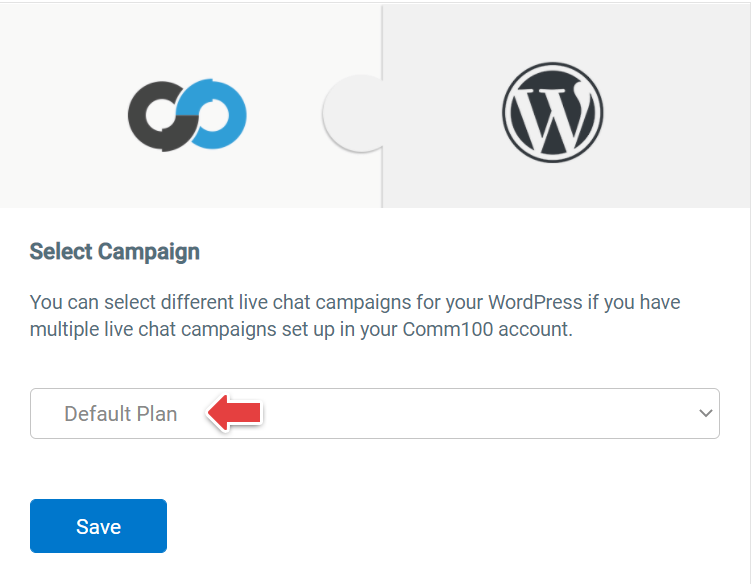
- On the Select Campaign screen, select a campaign from the drop-down list and click Save.
Note:- If you have multiple campaigns in your Comm100 account, you can select a campaign you want to use on your WordPress website.
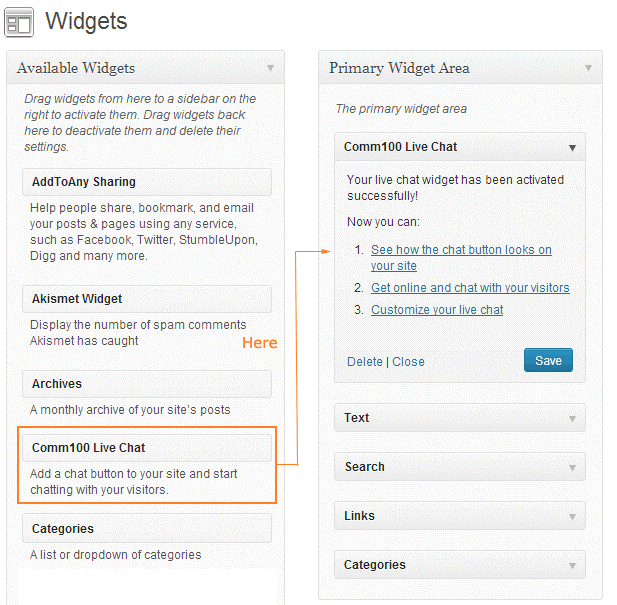
- If you select a campaign with a static button, you’ll see Comm100 Live Chat is available in Widgets. Then you can drag the widget to your sidebar and make it active. After that, you will see the chat button shown on your sidebar.
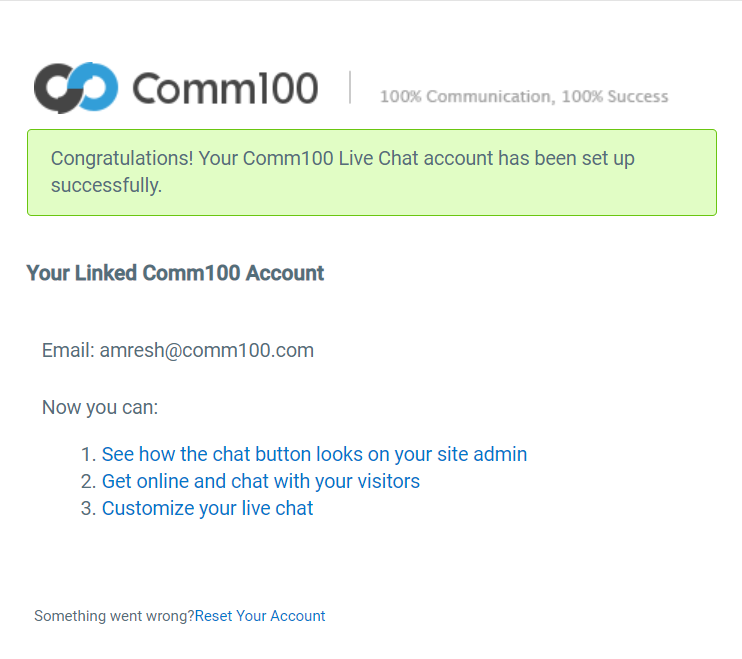
- You receive a message on successfully connecting to the Comm100 Live Chat account.
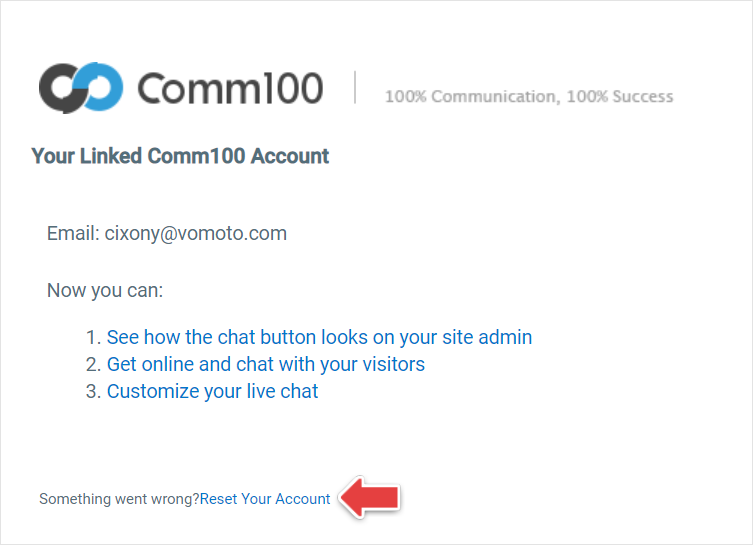
From the Your Linked Comm100 Account screen, you can:- See how the chat button looks on your site
- Get online and chat with your visitor from Agent Console. To learn how to go online and take chats on Agent Console, see this article.
- Customize your Live Chat from the Comm100 Control Panel. To learn more on how to brand and configure your live chat campaign, see this article.
- On the Connecting my Comm100 Account screen, type your username and password, and click Connect.
- If you are a new customer, Comm100 automatically signs you up for the Comm100 Free plan and connects you to WordPress to activate Live Chat on your WordPress site. You receive an email on your user profile email address with Comm100 account access details for successfully connecting to the Comm100 Live Chat account. You also receive a password for your new Comm100 Live Chat account on your profile email address.
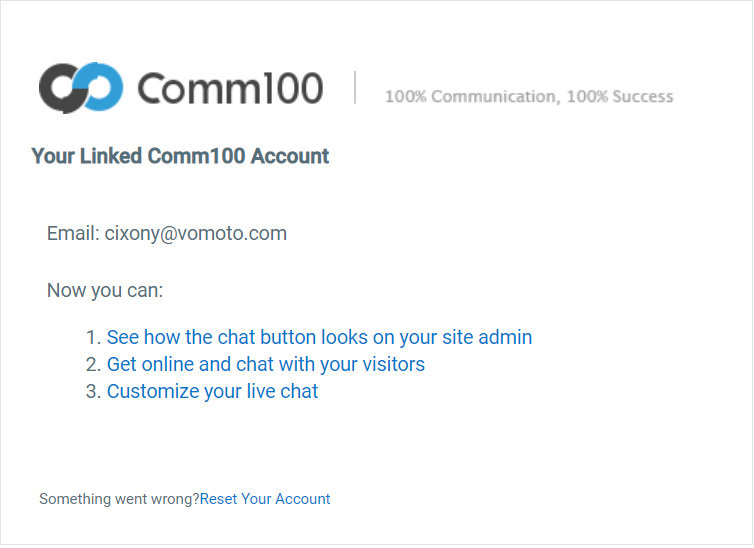
From the Your Linked Comm100 Account screen, you can:- See how the chat button looks on your site
- Get online and chat with your visitor from Agent Console. To learn how to go online and take chats on Agent Console, see this article.
- Customize your Live Chat from the Comm100 Control Panel. To learn more on how to brand and configure your live chat campaign, see this article.
- If you are an existing customer. Comm100 asks you to provide an email and password to connect your Comm100 account to WordPress, and activate Live Chat on your WordPress site.

After you have successfully added the Comm100 Live Chat plugin onto your WordPress site, the live chat button appears on your WordPress site. Now, your customers can reach you by clicking the live chat button, and you can chat with them from the Agent Console.
Note: If you want to connect a new Comm100 account, you can reset the previously connected account by clicking Reset Your Account on the Your Linked Comm100 Account screen.
Place the Comm100 Live Chat code
You can also manually insert the Live Chat code to get live chat up and running. The Insert Headers and Footers is a simple plugin that lets you insert Comm100 Live Chat code to your WordPress site.
To insert Comm100 Live Chat code to a WordPress site, follow these steps:
- Log in to your WordPress account.
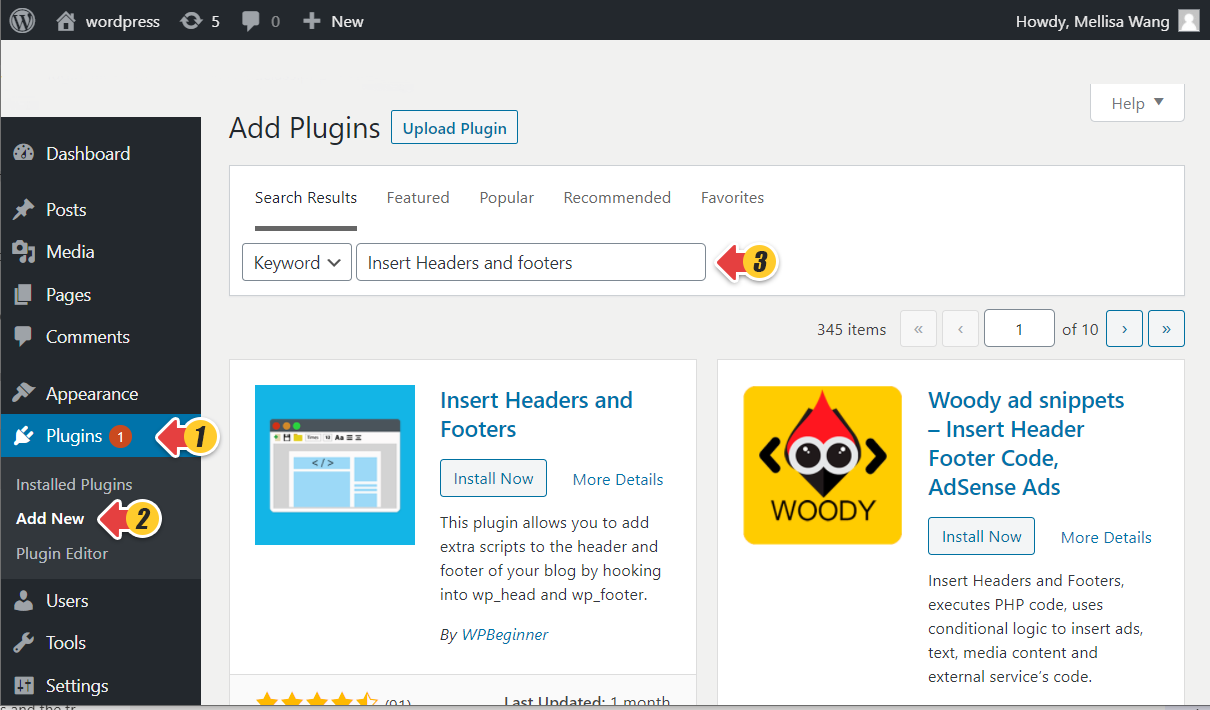
- In your WordPress admin area, go to the Plugins menu and click Add New.
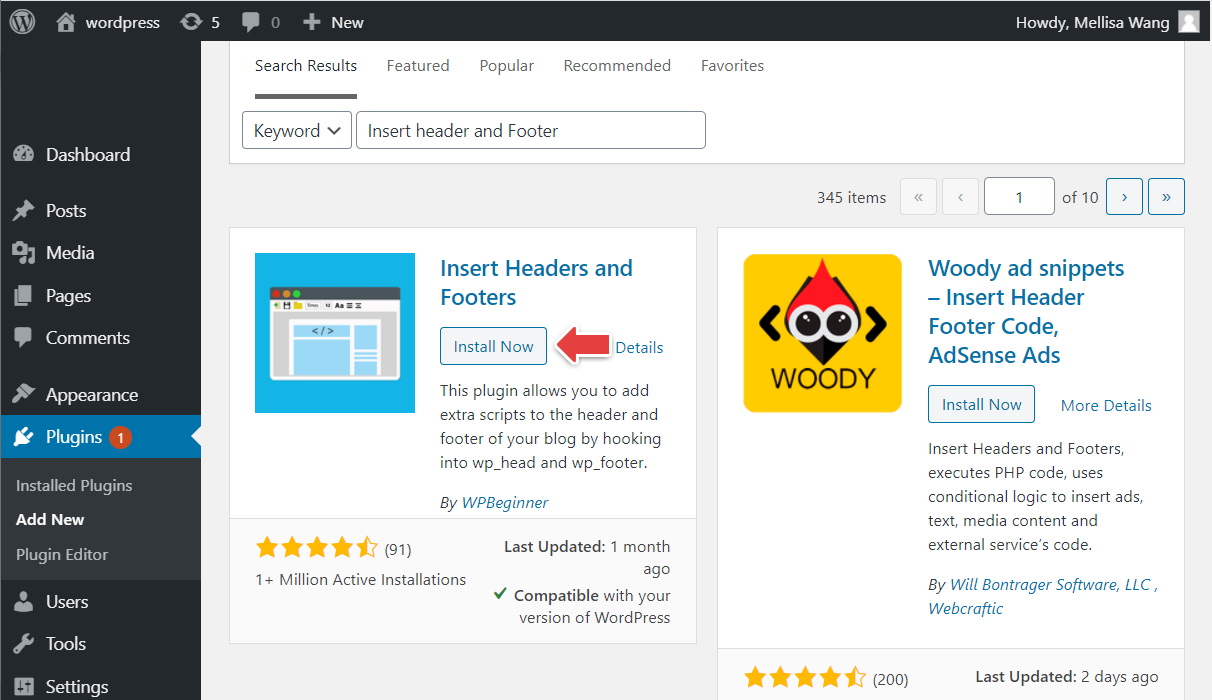
- In the Add Plugins page, type the plugin name Insert Headers and Footers in the search bar.
- From the listing, click Install Now next to the plugin.
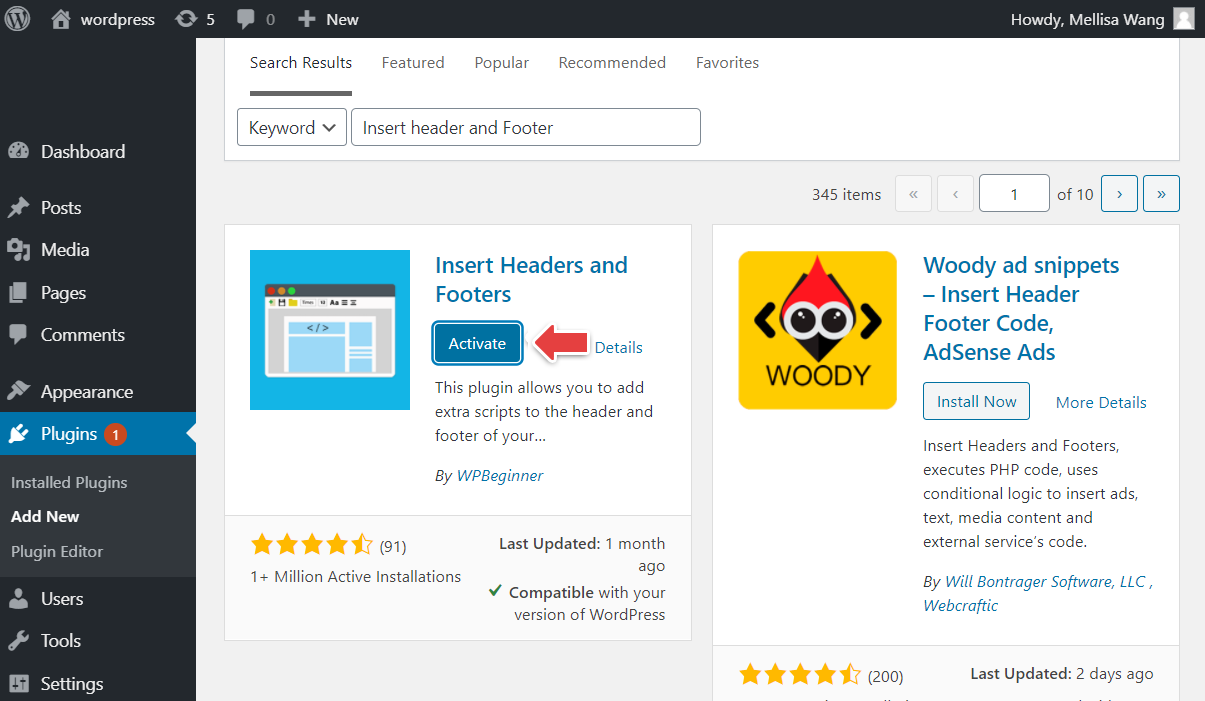
WordPress will start to download and install the plugin. After the successful installation, the Install Now button changes to Activate. - Click Activate to start using the plugin.
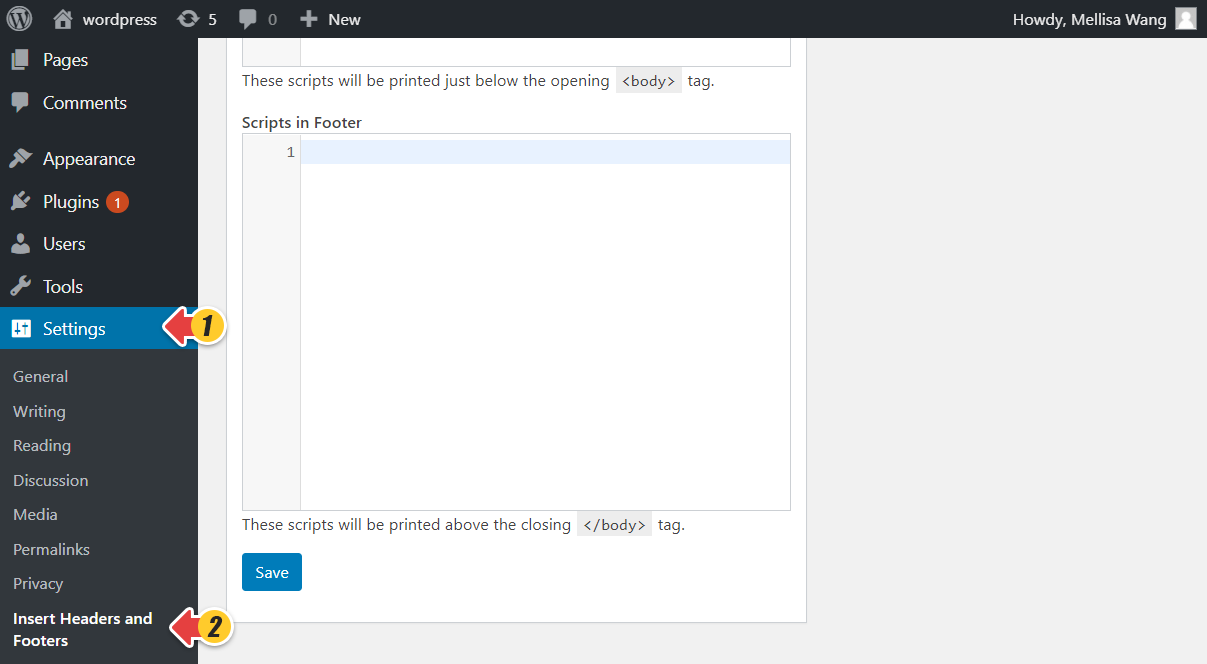
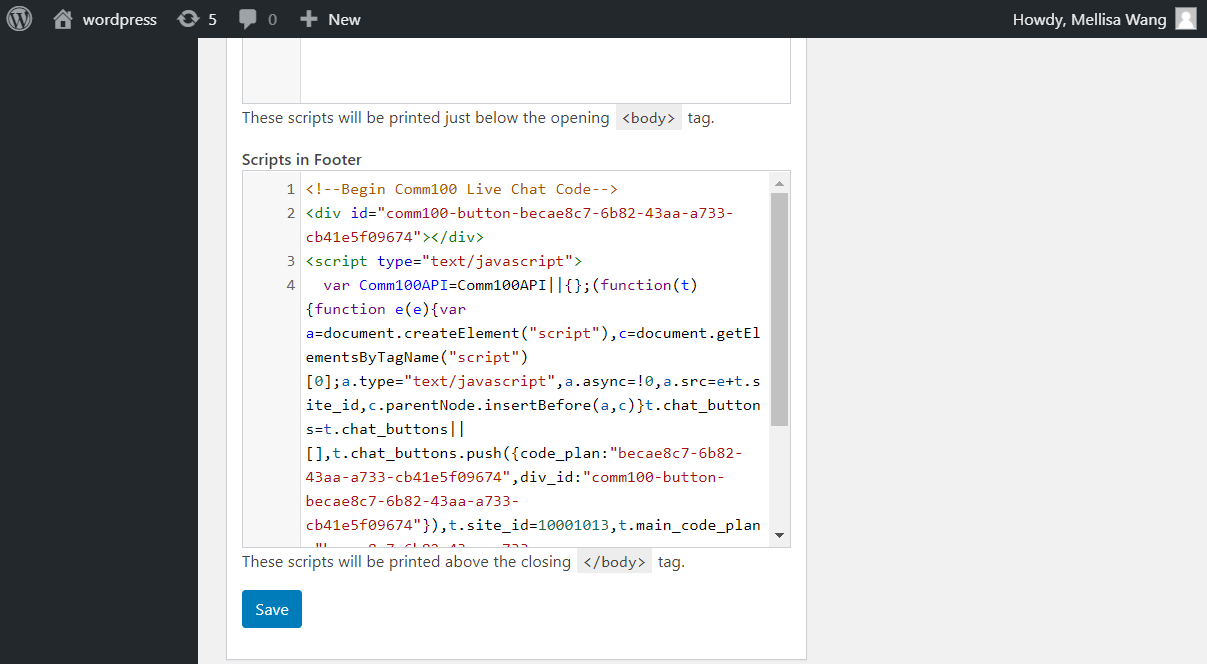
- From the Settings menu, click Insert Headers and Footers.
- Paste the Comm100 Live Chat code to the Scripts in Footer box.
- Click Save.
Now you have successfully added a chat button to each page of your website. Your website visitors can click on the live chat button to chat with you instantly after you get online from Agent Console.
Yet you do not necessarily have to go back to your WordPress admin panel every time to chat with your visitors. You can easily get online through our live chat apps for both PCs and mobile devices.